Tuesday, June 25, 2013

Starbucks City Mugs Collection Continues and Custom Shelves!


LET THERE BE MUGS! So I have been a busy bee traveling the world and country to continue my collection of Starbucks City mugs - do you remember this post? Well my collection has grown considerably since then! I have friends and family on missions to get these for me where ever they go as well as my own travels and searches for these mugs.

Some people may say it's become a bit of an obsession (it is) BUT I am just very determined to have them all! Especially now that I have hit a major snag, this spring Starbucks rolled out a new style they are called the "You are Here" collection and well they are completely different AND this means they are no longer making the '08 Global Icon Series which is the one I am collecting =( This is the new style below. My friend brought it back from Atlanta - she searched for the other one but it was no where to be found. =(

NOW I do like this style but I am 33 mugs into the previous style. That was a lot of traveling (blood, sweat and tears) to a lot of Starbucks - and the thought of starting over is daunting. And perhaps some overkill as soon my apartment will be overrun by MUGS!(they are pretty though).

I am going to try to get what I can of the older style as they can still be found (with some serious digging and harassing of Starbucks employees) in certain locations (less busy areas) basically whatever is left is out there and once they are sold there will be no more new shipments.

I was able to snag a Florida mug in April and my friend was able to get a Miami mug for me in May. But it is getting harder and harder to find US mugs at this time. I need help! if I am going to get them all!!! Please help! If you see one snag it up! They still haven't moved over to the new design in Europe or other countries. (Hello oversea's friends - I miss you please help me). Too bad I have no travel plans at the moment but this seems like a good reason to make some!? I did find a Facebook group of similar collectors where trading goes on - however I don't have any duplicates to trade (who knew!) so I am also hunting for duplicates to trade. I know, serious First World Problems here =/

OKOK  - onto the DIY part of this post - With the influx of new mugs my little shelves were quickly filled up.


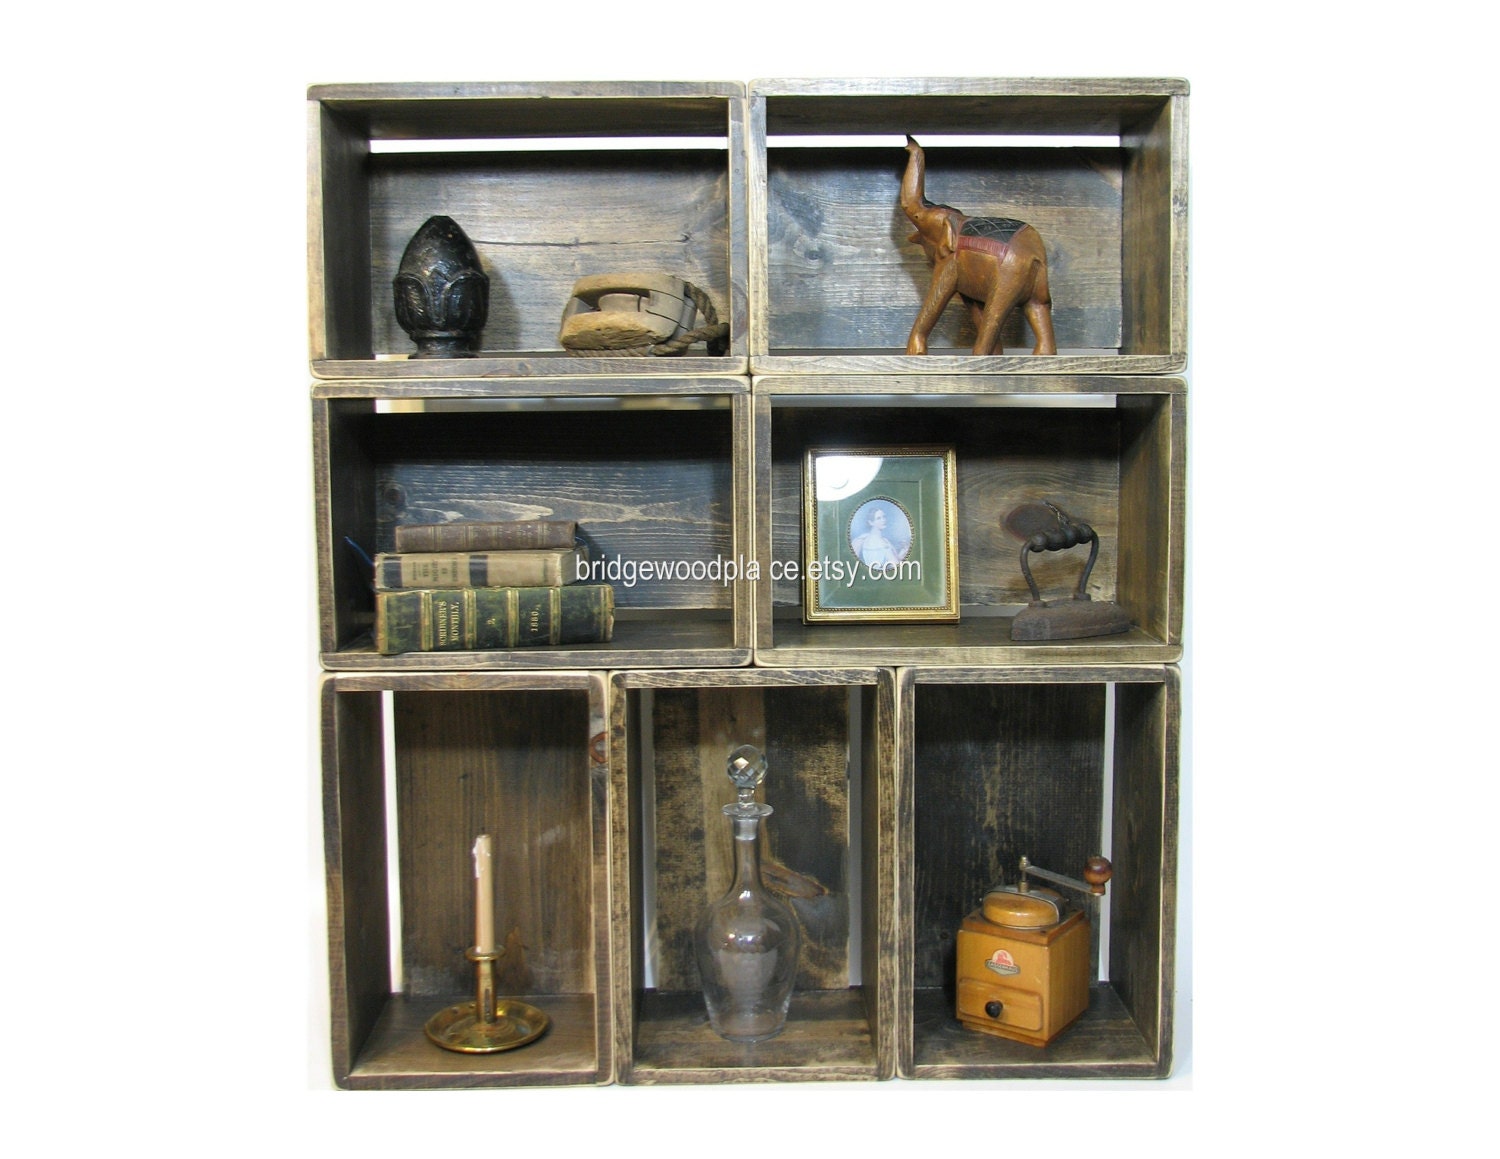
SO I had to make more!! Now I have to say it did take me a long time (like 6 months- yes I don't make decisions so fast, also the creative process takes time) to come up with the perfect solution to house my precious collection. I knew that I wanted to place them atop the kitchen cabinets - being as there was unused open space there (and I had no where else to put them!). But I had to figure out how to make that happen with my resources (lack of cabinetry skills/tools/space) and a limited budget, of course. I did some sketches and came up with this idea here
SO that was the idea - and the next step was to make it a reality. I was inspired by these box shelves I saw on Etsy and thought - hey! I can do that!?! Especially since they wanted $560 for 7 of these and I was going to need more!


via bridgewoodplace.etsy.com


SO off to Home Depot I went with my sketchbook, tape measure and a calculator. After of course I measured the space - another challenge - the ceiling is not exactly even - so I needed to account for that in my measurements and make sure the shelves fell slightly below and weren't so tight that the shelf wouldn't fit. I decided on 12"L x 6" h x 13.5" wide for the shelves and then just hoped for the best! The overall height of the space was about 14" and varied slightly on either side. I would be stacking two shelves for a total height of 12" the 2" variance I figured would suffice.

I decided to go with Pine wood just because that was the best option as far as available wood sizes and I wanted real wood - not plywood because you will see the grain on the edges. I had a very patient Home Depot employee cut all the pieces for me - they are supposed to charge .25 a cut but he was super nice and only charged me like $3.00 for everything!! The large pieces of Pine (they had about 12" w it was really 11-7/8" x 8ft and 10ft long) so there was def. some fudging and not exact measurements here but I had accounted for that and again just hoped it would all work out in the end. Since I was going smaller and not larger my chances were better. The large wood pieces ranged from $10-16 and I needed a few to get all my pieces. Overall the wood cost me about $75. A far cry from the over $500 for above! So I was happy.

Then the constructing of the boxes began. I used some wood glue on the edges and a nail gun to put everything together. It was a little time consuming to build them all -but it was simple work.

I ended up stacking two layers of shelves (I lined them up the cabinet doors) and then because of the uneven ceiling the shelves didn't work vertically so instead I alternated with only one shelf to add a little interest.

I made one large shelf above the refrigerator for cookbooks. So once the boxes were built I did a rough sand around the edges and then stained them a darker stain. This is where using real wood really shows you can see the wood grain come out in the stain. I did two light coats of stain and then put them up. These aren't high traffic items since they are so high up and just for show really, so I didn't add a poly coating over the stain and I like the matte look. SO then I just placed them above the cabinets and arranged my mugs!


I put only one level on the opposite side because the ceiling was even lower there and the 2nd level didn't fit. The shelves are by no means perfect - but that adds to the charm and they only need to house one or two mugs and they do the job!  What do you think?


I def. have room for more now! SO I must continue the search for as long as I have until they are all long gone. Ebay is already flooded with these mugs I saw a Cleveland mug up to $60 and Sacramento is at $128 right now - and I totally passed up getting that one on my cross country drive =/
I did get a new addition just the other day a friend brought back for me - but alas it is the new design. Hmmm now I have two of these - perhaps I am beginning another collection.....


Tuesday, March 26, 2013

Side Table Make-Over!

If at First you don't succeed TRY TRY AGAIN!

Hi Everyone! I know I have been MIA lately - and sorry for the lapse. Good news is I completed my 30 day yoga challenge I discussed here. Bad news is I didn't do so good with my blogging challenge. I may have taken on too much, and 30 days, 30 blog posts is a bit much. I think I need to lower my goal to at least once a week! BUT more good news is I have been working on a bunch of new projects - so I have lots to blog about in the upcoming weeks! And here is the first one! I am sad to admit that I started this project back in November =/ and  yes I can say that Hurricane Sandy offered the first delay but lets just say it didn't go exactly as planned. BUT it offers a good lesson that not every DIY project you tackle will work out and it is def. an improvise as you go kinda process. SO let's get down to it. I will show you the before and after first and then take you through the woes and wows!

SO my friend found this beauty in her laundry room - someone had discarded it - it was in a little bit of rough shape with that missing drawer and some grime and scratches. But it had good bones - nice sturdy wood and gorgeous lines. Perfect candidate to be stripped and painted! I couldn't wait to get my hands on it.
Here are some more after pics before we delve into the process.


First I sanded the table to see what we were dealing with! This is what we found underneath ...
(of course Jules was all over this process) he really likes when I bring new furniture into the house. He thinks I bring it home for him.
SO the wood was good underneath it was hard to sand all of the former stain off of those grooves in the legs so they def. needed to be painted there. I wanted to bring in a nice punch of a cool color to my friend's place as currently she had all warm tones and was looking for a punch! We landed on Behr's Tropical Tide Blue  and I went with the Flat/Matte paint since I planned to put a polyurethane coating on top.
SO my first idea was to paint the legs and do a special treatment to the top. I ordered some marbled paper that I wanted to adhere to the top and put a protective coating over so it could be used as a table top surface. It was going to be gorgeous (so I thought...). The legs were painted all was good...

I placed the paper on the top (how gorgeous is this paper!?) And how great does this look? I ordered it from Paper Mojo here. I used some spray adhesive underneath but being as this is a table surface it needed a protective coating...
But as soon as I tried to apply a coating of Polyurethane - BOOM - OUCH - I even attempted this spray on clear enamel - more BOOM and more OUCH - here are the murderers now...
Look what they did....
I pretty much cried immediately it was like a crashing car I couldn't stop - the damage was done. I attempted to cut the damaged part off (of course I didn't order enough paper to try again - that stuff ain't cheap and stock was low!)

But I knew deep in my heart this was not going to work - it would never be a functional table and my vision was wrecked. Hence the several month delay to the resurrection of this project. I had to first GET OVER IT... and then come up with a new fabulous idea. A LOT of pressure. But lucky for Jules he got to occupy this table for longer than originally planned.


OK so back to the drawing board - I ripped of my beautiful paper (hoping to salvage some for a future project - we will see...) And I applied some stain the top. Which looked nice - except for one problem...

There was a spot on the table that was not taking the stain properly it was something on the table I am not sure but it was an obvious flaw - that would not work in the long run. (sorry I didn't take a close up of it but take my word for it - it looked like someone rubbed their snot in that part of the table - eww).
SO I decided that to stencil out a design on the top (that would ultimately cover the snot). I was inspired by this table here - but wanted something a little more playful!
So I got some little round stickers and placed them on the table top over the stain.
Then I painted over the stickers and crossed my fingers that this would work. I waited for it to dry before I lifted all the stickers up hoping to find perfect circles - almost a polka dot look underneath.
AND TaDa! It worked. (Phew!)
SO it wasn't my original vision but my friend loves it and it gives her just that color punch that she needed!
And as you can see DIY is no piece of cake and sometimes we need to make sacrifices for beautiful functioning hand altered (in my living room) furniture. OK until next time!

-Kim


Friday, January 25, 2013

Design Trend - Hedgehogs?

HI Everyone so I know I have missed a few days blogging - this brutal cold New York weather has clouded my mind and my mood (ever notice how the cold just gets you down?). Anyway I came across a post on Apartment Therapy today discussing possible new design trends and I was reading all the comments and several people mentioned Hedgehogs? Seems like a rather random design motif - but I did a little searching and found some cute items. But I am still not convinced that I love these - what do you think??

Pottery Barn Kids Hedgehog Bookends $29.99
Splendid Avenue Wooden Hedgehog Clock - $68.00
Art.com Owl and Hedgehog Print - $12.99

Land of Nod Hedgehog Nightlight - $99.00

Dwell Studios Hedgehog Wall Hook - $28.00
Decoylab Hedgehog Brooch - $12.00
So I think this could def. work as a nursery theme check out this duvet cover

Etsy Store DMDesigns - $72.50
But maybe a few of these pieces can work in adult spaces to add a little whimsy and fun! We have seen the Owl make it's way into decor and the Deer and the Octopus! Maybe it's time for the hedgehog to move in!

I am going to leave you with this super cute story of a cat that adopted a few baby hedgehogs - so cute!