Tuesday, March 26, 2013

Side Table Make-Over!

If at First you don't succeed TRY TRY AGAIN!

Hi Everyone! I know I have been MIA lately - and sorry for the lapse. Good news is I completed my 30 day yoga challenge I discussed here. Bad news is I didn't do so good with my blogging challenge. I may have taken on too much, and 30 days, 30 blog posts is a bit much. I think I need to lower my goal to at least once a week! BUT more good news is I have been working on a bunch of new projects - so I have lots to blog about in the upcoming weeks! And here is the first one! I am sad to admit that I started this project back in November =/ and  yes I can say that Hurricane Sandy offered the first delay but lets just say it didn't go exactly as planned. BUT it offers a good lesson that not every DIY project you tackle will work out and it is def. an improvise as you go kinda process. SO let's get down to it. I will show you the before and after first and then take you through the woes and wows!

SO my friend found this beauty in her laundry room - someone had discarded it - it was in a little bit of rough shape with that missing drawer and some grime and scratches. But it had good bones - nice sturdy wood and gorgeous lines. Perfect candidate to be stripped and painted! I couldn't wait to get my hands on it.
Here are some more after pics before we delve into the process.


First I sanded the table to see what we were dealing with! This is what we found underneath ...
(of course Jules was all over this process) he really likes when I bring new furniture into the house. He thinks I bring it home for him.
SO the wood was good underneath it was hard to sand all of the former stain off of those grooves in the legs so they def. needed to be painted there. I wanted to bring in a nice punch of a cool color to my friend's place as currently she had all warm tones and was looking for a punch! We landed on Behr's Tropical Tide Blue  and I went with the Flat/Matte paint since I planned to put a polyurethane coating on top.
SO my first idea was to paint the legs and do a special treatment to the top. I ordered some marbled paper that I wanted to adhere to the top and put a protective coating over so it could be used as a table top surface. It was going to be gorgeous (so I thought...). The legs were painted all was good...

I placed the paper on the top (how gorgeous is this paper!?) And how great does this look? I ordered it from Paper Mojo here. I used some spray adhesive underneath but being as this is a table surface it needed a protective coating...
But as soon as I tried to apply a coating of Polyurethane - BOOM - OUCH - I even attempted this spray on clear enamel - more BOOM and more OUCH - here are the murderers now...
Look what they did....
I pretty much cried immediately it was like a crashing car I couldn't stop - the damage was done. I attempted to cut the damaged part off (of course I didn't order enough paper to try again - that stuff ain't cheap and stock was low!)

But I knew deep in my heart this was not going to work - it would never be a functional table and my vision was wrecked. Hence the several month delay to the resurrection of this project. I had to first GET OVER IT... and then come up with a new fabulous idea. A LOT of pressure. But lucky for Jules he got to occupy this table for longer than originally planned.


OK so back to the drawing board - I ripped of my beautiful paper (hoping to salvage some for a future project - we will see...) And I applied some stain the top. Which looked nice - except for one problem...

There was a spot on the table that was not taking the stain properly it was something on the table I am not sure but it was an obvious flaw - that would not work in the long run. (sorry I didn't take a close up of it but take my word for it - it looked like someone rubbed their snot in that part of the table - eww).
SO I decided that to stencil out a design on the top (that would ultimately cover the snot). I was inspired by this table here - but wanted something a little more playful!
So I got some little round stickers and placed them on the table top over the stain.
Then I painted over the stickers and crossed my fingers that this would work. I waited for it to dry before I lifted all the stickers up hoping to find perfect circles - almost a polka dot look underneath.
AND TaDa! It worked. (Phew!)
SO it wasn't my original vision but my friend loves it and it gives her just that color punch that she needed!
And as you can see DIY is no piece of cake and sometimes we need to make sacrifices for beautiful functioning hand altered (in my living room) furniture. OK until next time!

-Kim


Friday, January 25, 2013

Design Trend - Hedgehogs?

HI Everyone so I know I have missed a few days blogging - this brutal cold New York weather has clouded my mind and my mood (ever notice how the cold just gets you down?). Anyway I came across a post on Apartment Therapy today discussing possible new design trends and I was reading all the comments and several people mentioned Hedgehogs? Seems like a rather random design motif - but I did a little searching and found some cute items. But I am still not convinced that I love these - what do you think??

Pottery Barn Kids Hedgehog Bookends $29.99
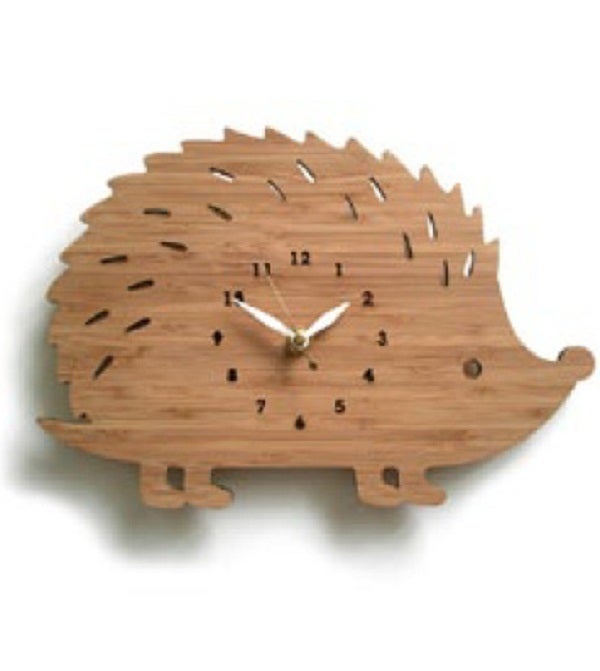
Splendid Avenue Wooden Hedgehog Clock - $68.00
Art.com Owl and Hedgehog Print - $12.99

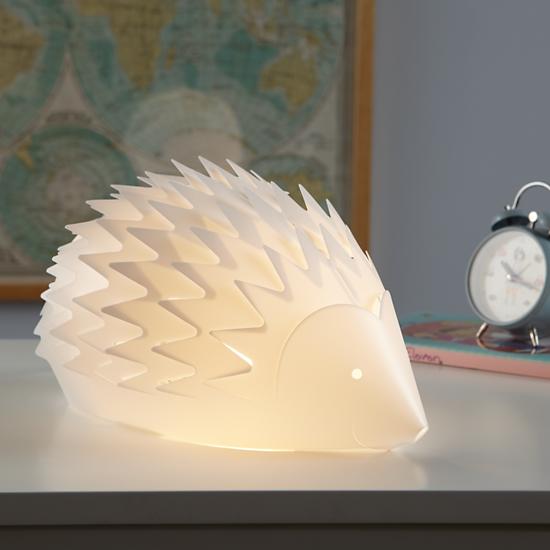
Land of Nod Hedgehog Nightlight - $99.00

Dwell Studios Hedgehog Wall Hook - $28.00
Decoylab Hedgehog Brooch - $12.00
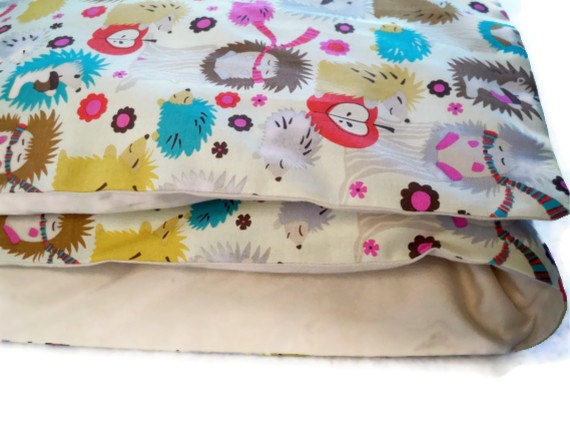
So I think this could def. work as a nursery theme check out this duvet cover

Etsy Store DMDesigns - $72.50
But maybe a few of these pieces can work in adult spaces to add a little whimsy and fun! We have seen the Owl make it's way into decor and the Deer and the Octopus! Maybe it's time for the hedgehog to move in!

I am going to leave you with this super cute story of a cat that adopted a few baby hedgehogs - so cute!


Friday, January 18, 2013

Product Review: Vacuums

So I thought I would dedicate this post to the review of a product I purchased and have been using for some time now. Vacuum's are a tricky purchase sometimes you can spend a whole lot of money and be stuck with a dud! It's hard to know which one will work best for you. So I am going to share my experiences to help in this daunting purchase process.

I will start off with my first real vacuum purchase about 5 years ago. I bought this Hoover Bagless Upright Vacuum, now the one I had was an older version (different color) and didn't have a retractable cord as this one now appears to have. But other than that it seems to be the same.

I bought this one because I was developing allergies to dust and I was living in an old apartment building at the time and I am pretty sure there was dust infested in the all the walls and floors making my allergies go crazy! SO I was attempting any remedy I could. This vacuum has a Hepa filter that claims to be helpful in controlling dust allergens. I used this vacuum for about 4-5 years and brought it over to my new apartment. It seemed to do the job. Although it often got clogged up and would not pick up dirt. Dust and dirt would get stuck in the inside canister preventing new dirt to come in. So I would have to get my hands in there and rip it out - always a pleasant experience. But I suppose that is bound to happen over time? My reason for finally tossing this monster - is just that! It is a beast of a thing. It is very heavy and large. I am living in a 850 sq. ft apartment, with a LOT of furniture. SO maneuvering around furniture was next to impossible also storing this this thing was a challenge. Closet space is valuable and this one needed it's own closet! SO moral of the story if you live in an apartment with little open living space and limited storage this is not the vacuum to get. Also I would not recommend this if you have two levels - bringing this thing up and down stairs would not be fun.

So when I wised up I started searching for smaller, light weight vacuums that offered greater ease for mobility, that's when I stumbled on the Dirt Devil FeatherLite Cyclonic Canister Vacuum, SD40100

I read the reviews for this item and most of them were favorable and said it had good suction and was light and easy to move around. Also the price was amazing!! SO I went for it. And I have had it for about 6 months now - and I love it! The suction is great and it can get around all my furniture with so much greater ease! Some of the reviews I read touched on the fact that it is low to the ground so you have to kinds hunch over to vacuum and I can see that - but it really isn't that big of a deal, vacuuming is a chore so some work is involved regardless - ha! The other thing the reviews mention was that it is loud. This I didn't really notice - although Jules does run for hills every time the vacuum comes out - but that's not really a good judging factor he does the same thing every time I turn on the hair dryer and he hides under the bed during thunder storms. But I have a little video here you can check it out for yourself.

Also the canister is easily removable and simple to empty.


All in all I think this is a great vacuum - the price is amazing and it is very lightweight and it storage is not a problem at all it tucks away nicely in the closet. So that is my two cents on vacuums! Hope that helps someone.