Yay! Project completed! So we have been in need of a coffee table for some time now -and I just haven't been able to find the perfect one - when alas I walked by this bad boy on the street.
OK maybe it's not quite the looker I have been searching for - but I saw potential! I somehow convinced J to let me take it home with promises of a grander finale (he is often skeptical of my "projects" because, well I don't exactly tackle them in a timely manner and they may, once in a while, sit around unfinished for some time =/ ). But it must have been my lucky day - ha! and we carted it the two blocks into our complex and up the elevator into our one bedroom Queens apartment - where I immediately got down to it!


So yes this is my work space - right in the entry way, in front of the kitchen adjacent to the dining table and overlooking the kitty litter. But hey - you gotto do what you gotto do! I sanded the whole thing down using a 60 grit sand paper and an electric sander which, by the way, is an awesome invention and smart investment (
only about $30 from Amazon) . Hand sanding that would have been a nightmare. I started with 100 grit sandpaper and that would have taken forever as well,
60 grit was much better for this project. Now although the sander has a little compartment to catch the dust there was def. sawdust all over the entire apartment - another downfall of the lack of a proper work room. But I just wiped it all up when I was done and no one is the wiser!
So here we are all sanded and looking better already.
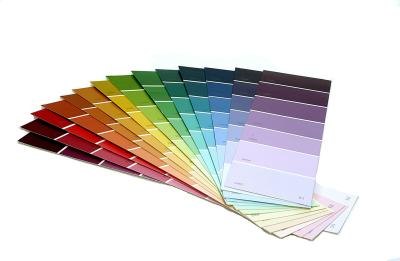
And now it was time for the paint. I decided to go with the paint from our walls (mostly because I had just purchased a quart of it to do some touch-ups on the wall (which of course I haven't done yet) and it's a nice light blue that will really freshen up the table!
Benjamin Moore Light Blue
My little helper Jules was standing by for assistance.
I did two coats of the light blue paint on the surface and the legs (going to a yoga class in between coats allowing dry time). Then I contemplated overnight what kind of design to paint on the surface. I toyed with the idea of recreating the pattern on my
curtains on a larger scale and perhaps in a one color rendition. Or mimicking the design on my
rug both of which seemed to offer obstacles - in the end I decided to go with a classic chevron pattern. And I used the grey paint that I used to paint the
doors here. However, J had to help me with this part and lets just say that higher mathematics were def. involved in creating this, it is not as easy as it looks.
We created a 4" grid and drew it with a pencil on the surface and used the grid to set-up the painters tape at the points. It got tricky as to what side of the points to place the tape - but we eventually figured it out and got the whole table taped off.
To get crisp painted lines I used a trick I learned when I tackled
this project and the tip came from
this post on Centsational Girl. To use the base paint color first along the edges of the tape before you put on the new color. It worked like a charm!
We finished it off with a coat of polyurethane and I jumped the gun and used a can that I had on hand and half way through the surface of the table I realized that it was oil based! And I have learned (the hard way) and if you read up on it, you will see that oil based polyurethane tends to yellow and really shows up on light colored surfaces! YIKES! But the damage was done and there was no turning back. So we only did one coat and I held my breath for a few days praying to the paint gods for no yellowing. And luckily all is good! BUT if you are to do this at home def. get water based polyurethane. In fact check out this helpful tutorial from Honey & Fitz on
creating high gloss finish on furniture.
And here it is in place in the living room! What do you think? The person who threw this out would be kicking themselves if they saw it now! ha!